Multilanguage support on Changelog can be helpful for any company that operates globally or has a user base of non-English speakers. Olvy allows you to translate system text to your default language for your releases and announcement widgets.
Note: Multi-Language Support is available on Business Plan.
Enabling Multi-Language for Changelog
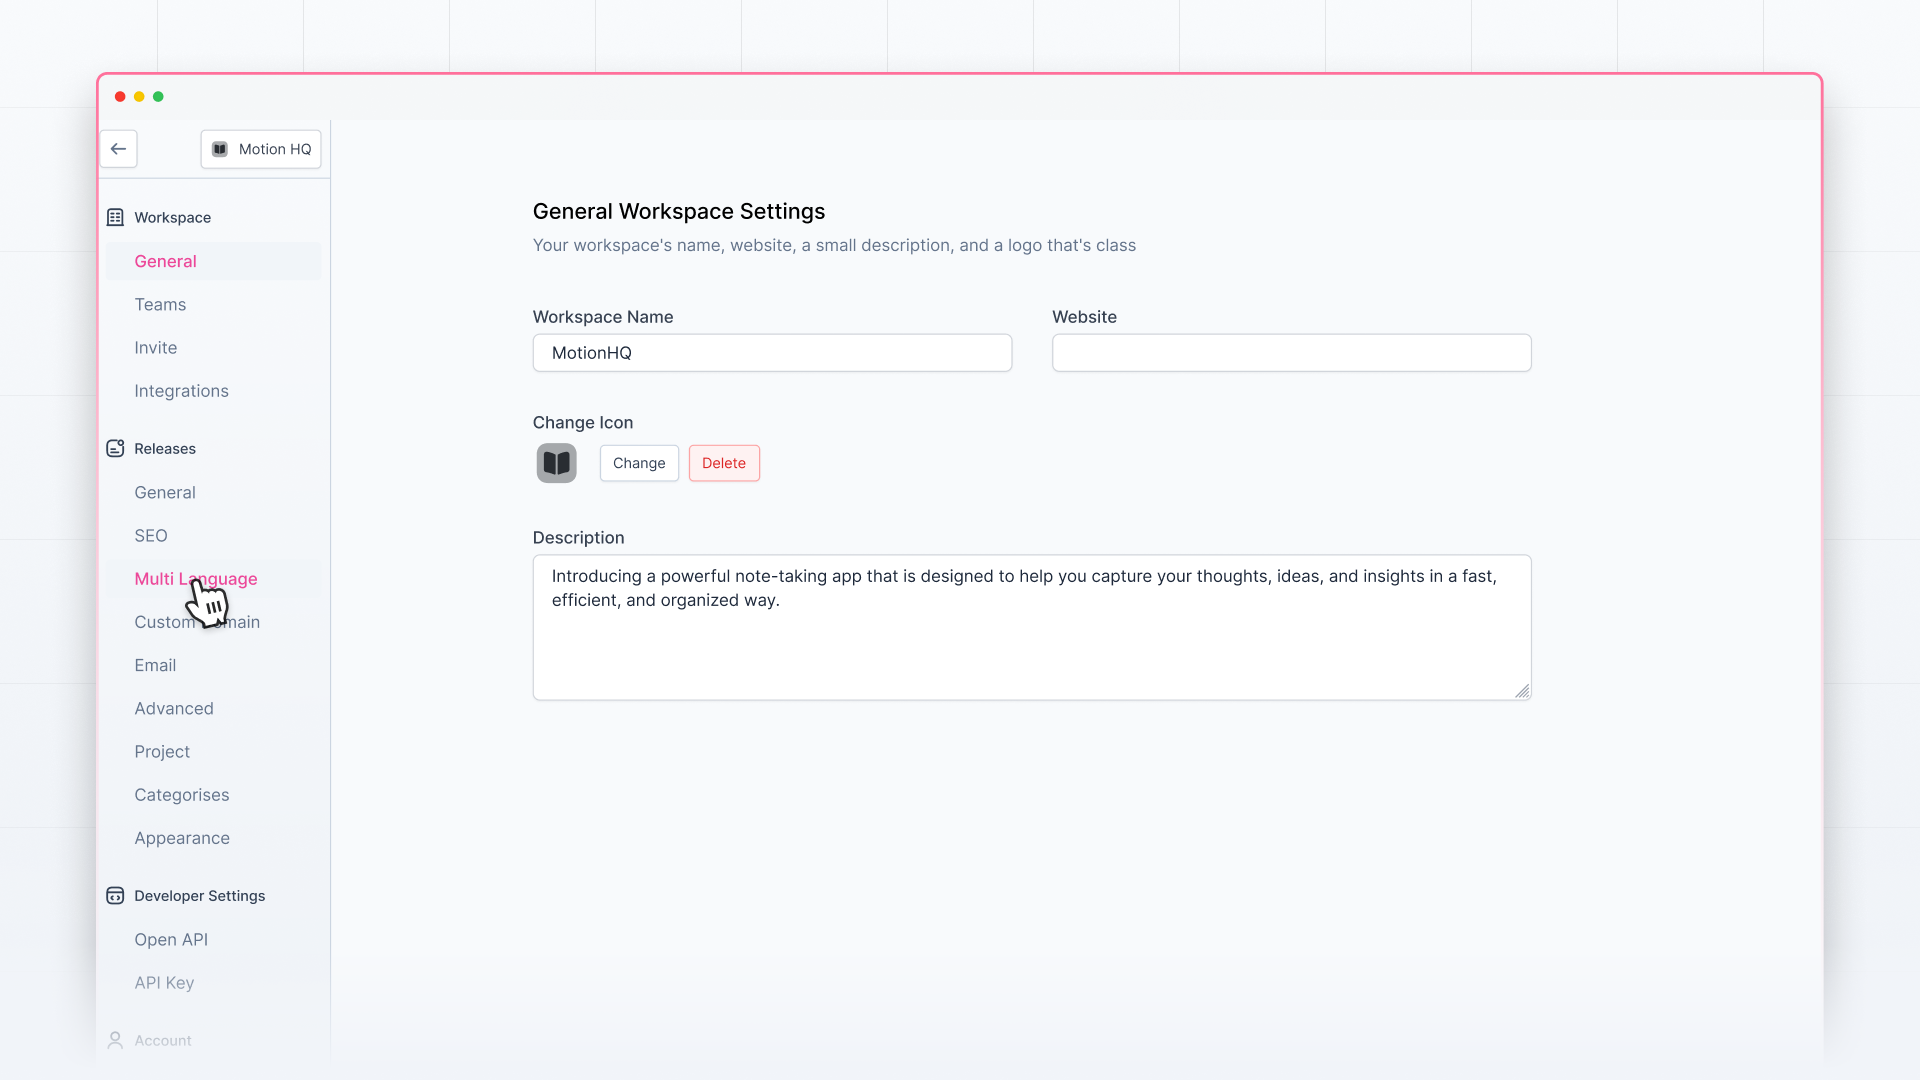
Go to Workspace Settings. On the left sidebar, click on Multi-Language under Changelog.
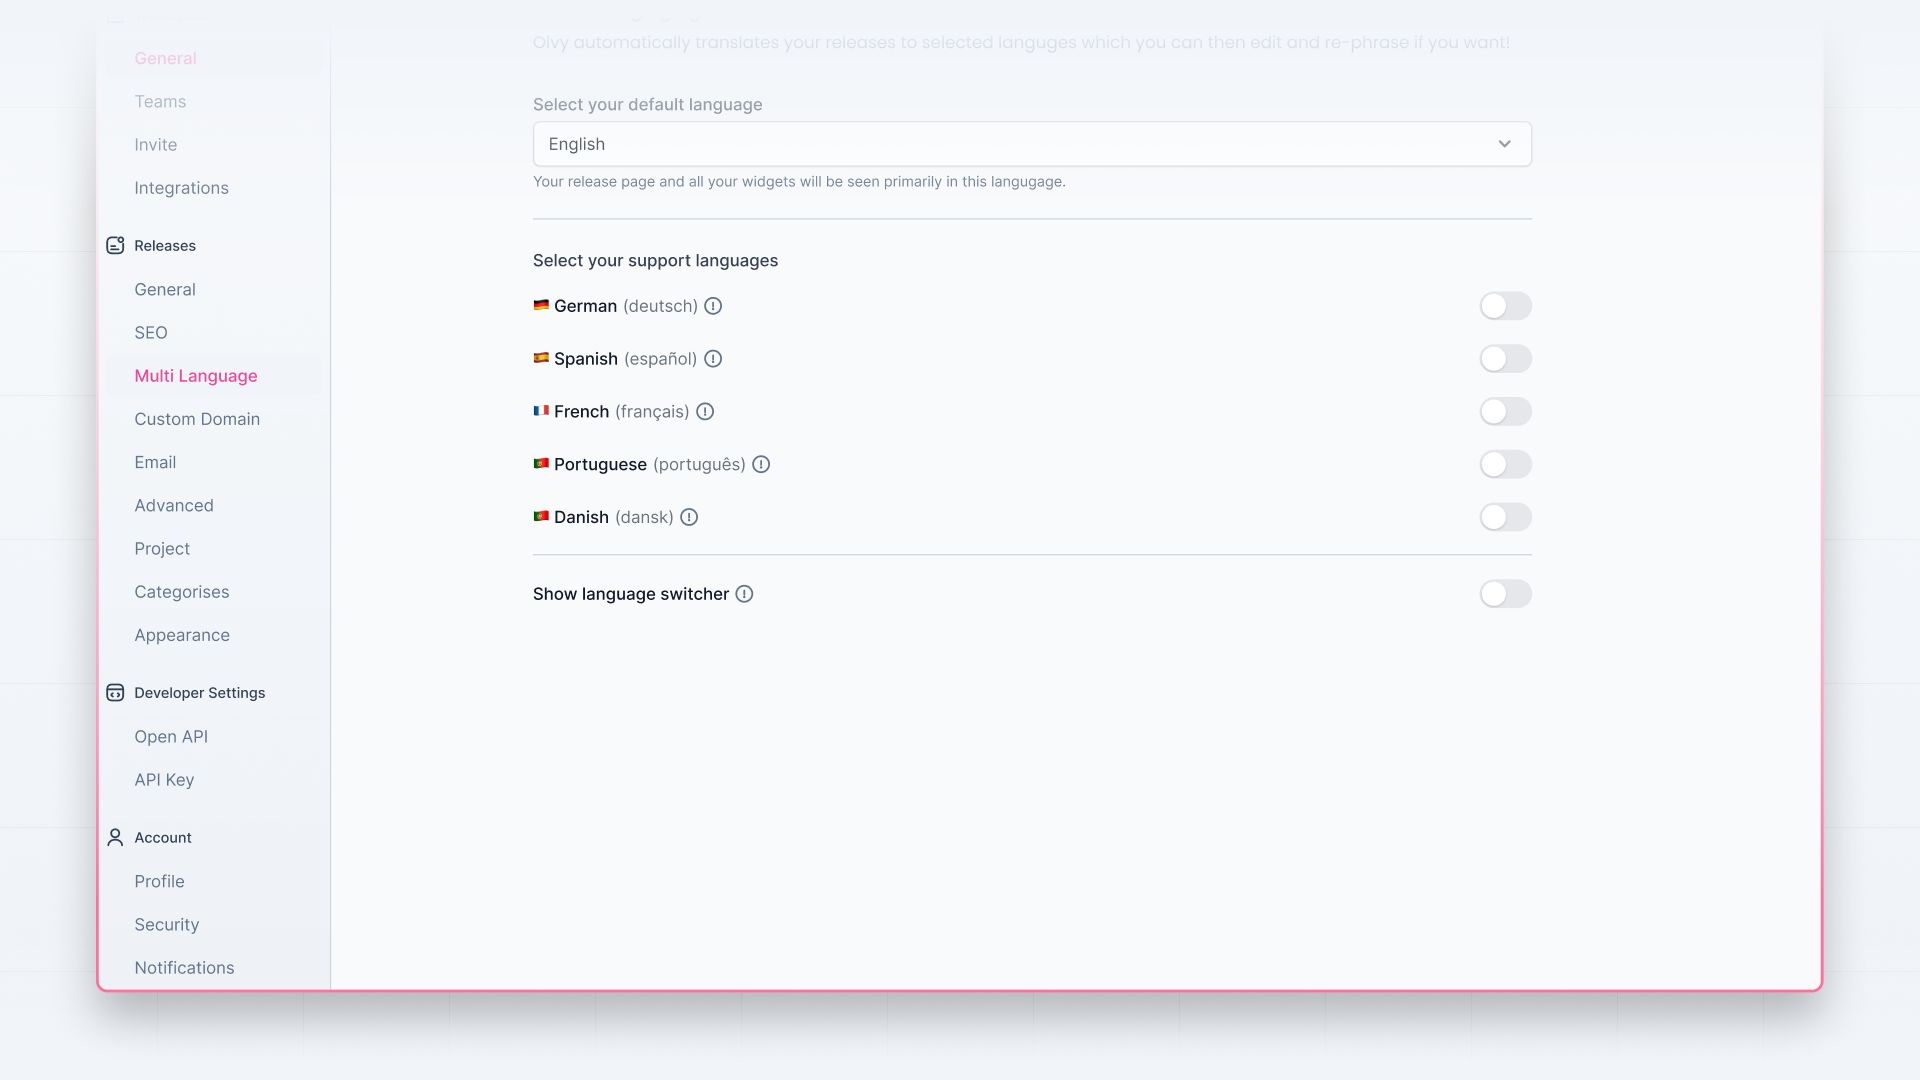
At first, you’ll see a default language dropdown. From here, select the default language (in which you want your changelog to be seen primarily) you wish for your changelog.

Next, you can select the language for which you want to release translation support. It implies Olvy will automatically translate previously written releases in your selected language, or you can write new translated releases.
Publishing Translated Releases
To publish a new release in a language other than English:
- Open the release editor. After writing your release, click the 'Translations' button on the top to see the options for your release.
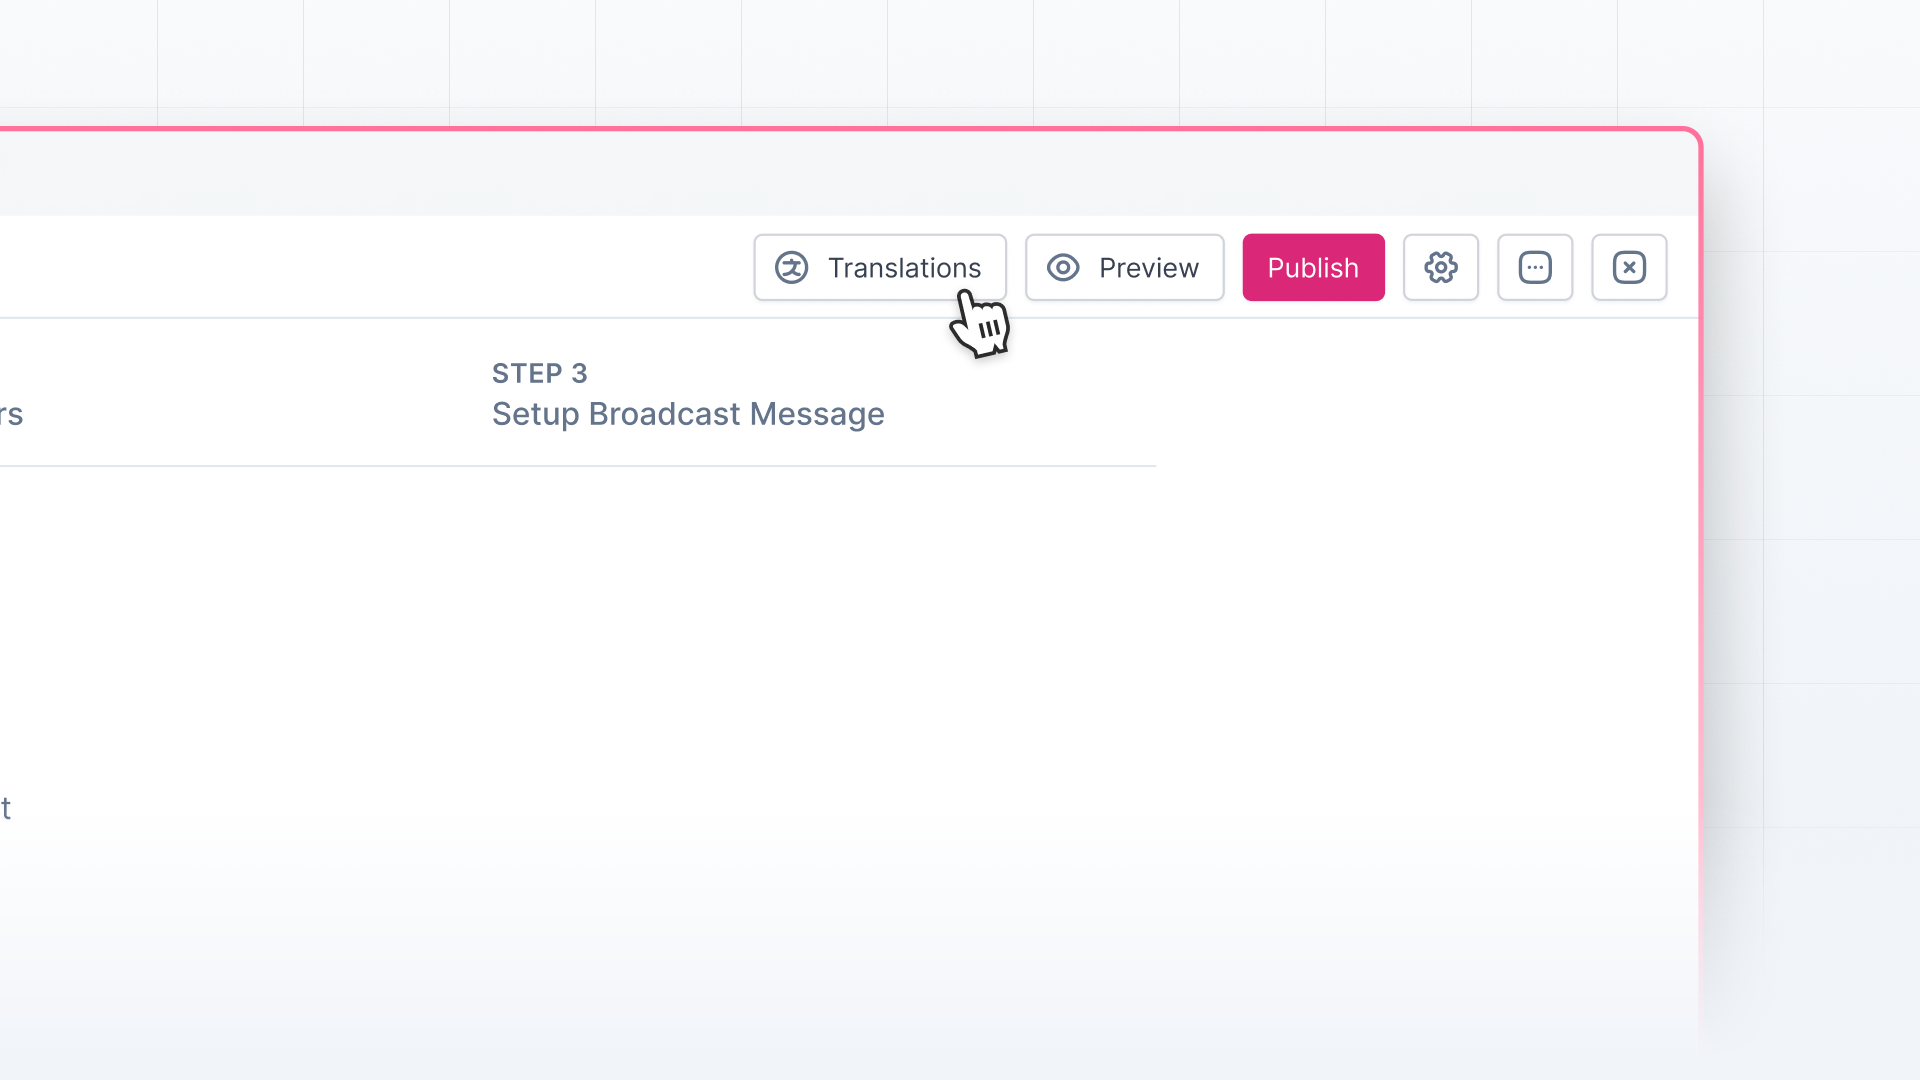
- Select a language option from the list to generate a translated release version. If you'd like to make changes to the translation, click 'Edit Translation' and make the changes that will be auto-saved.
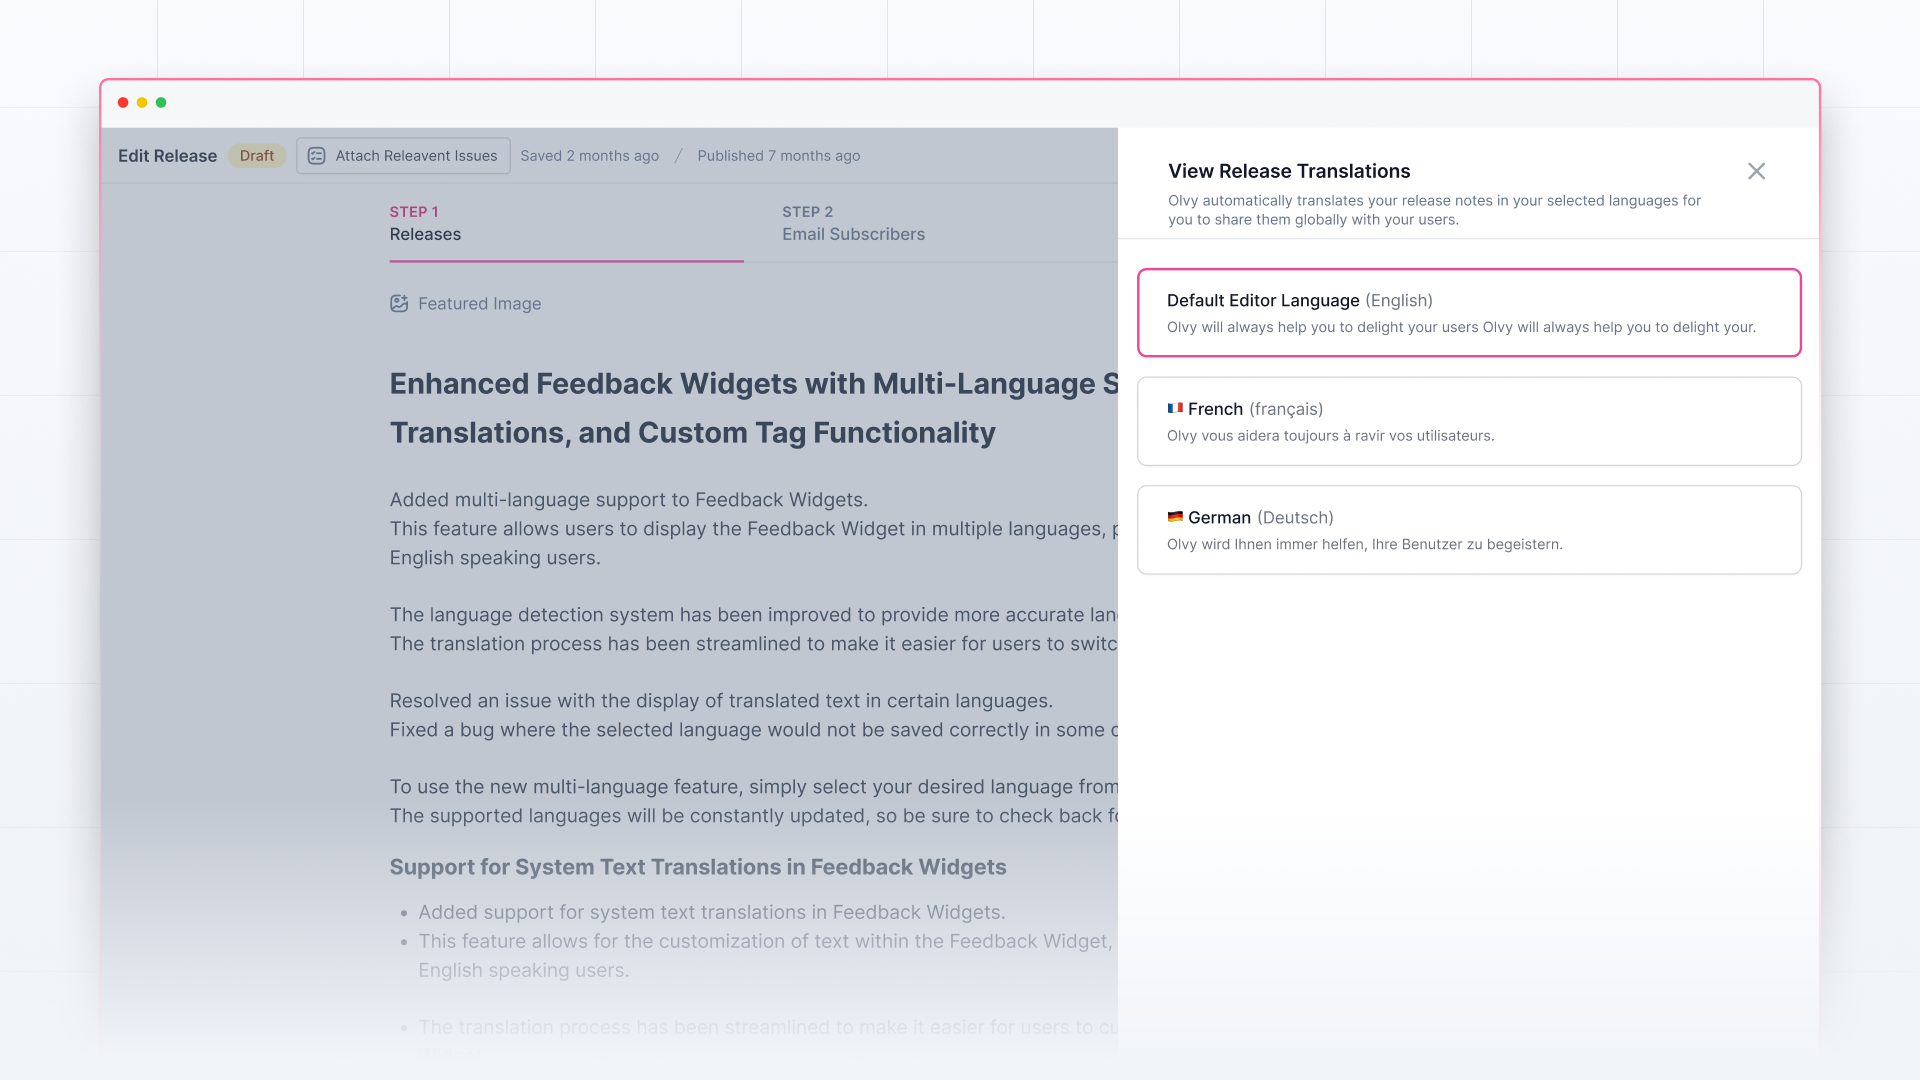
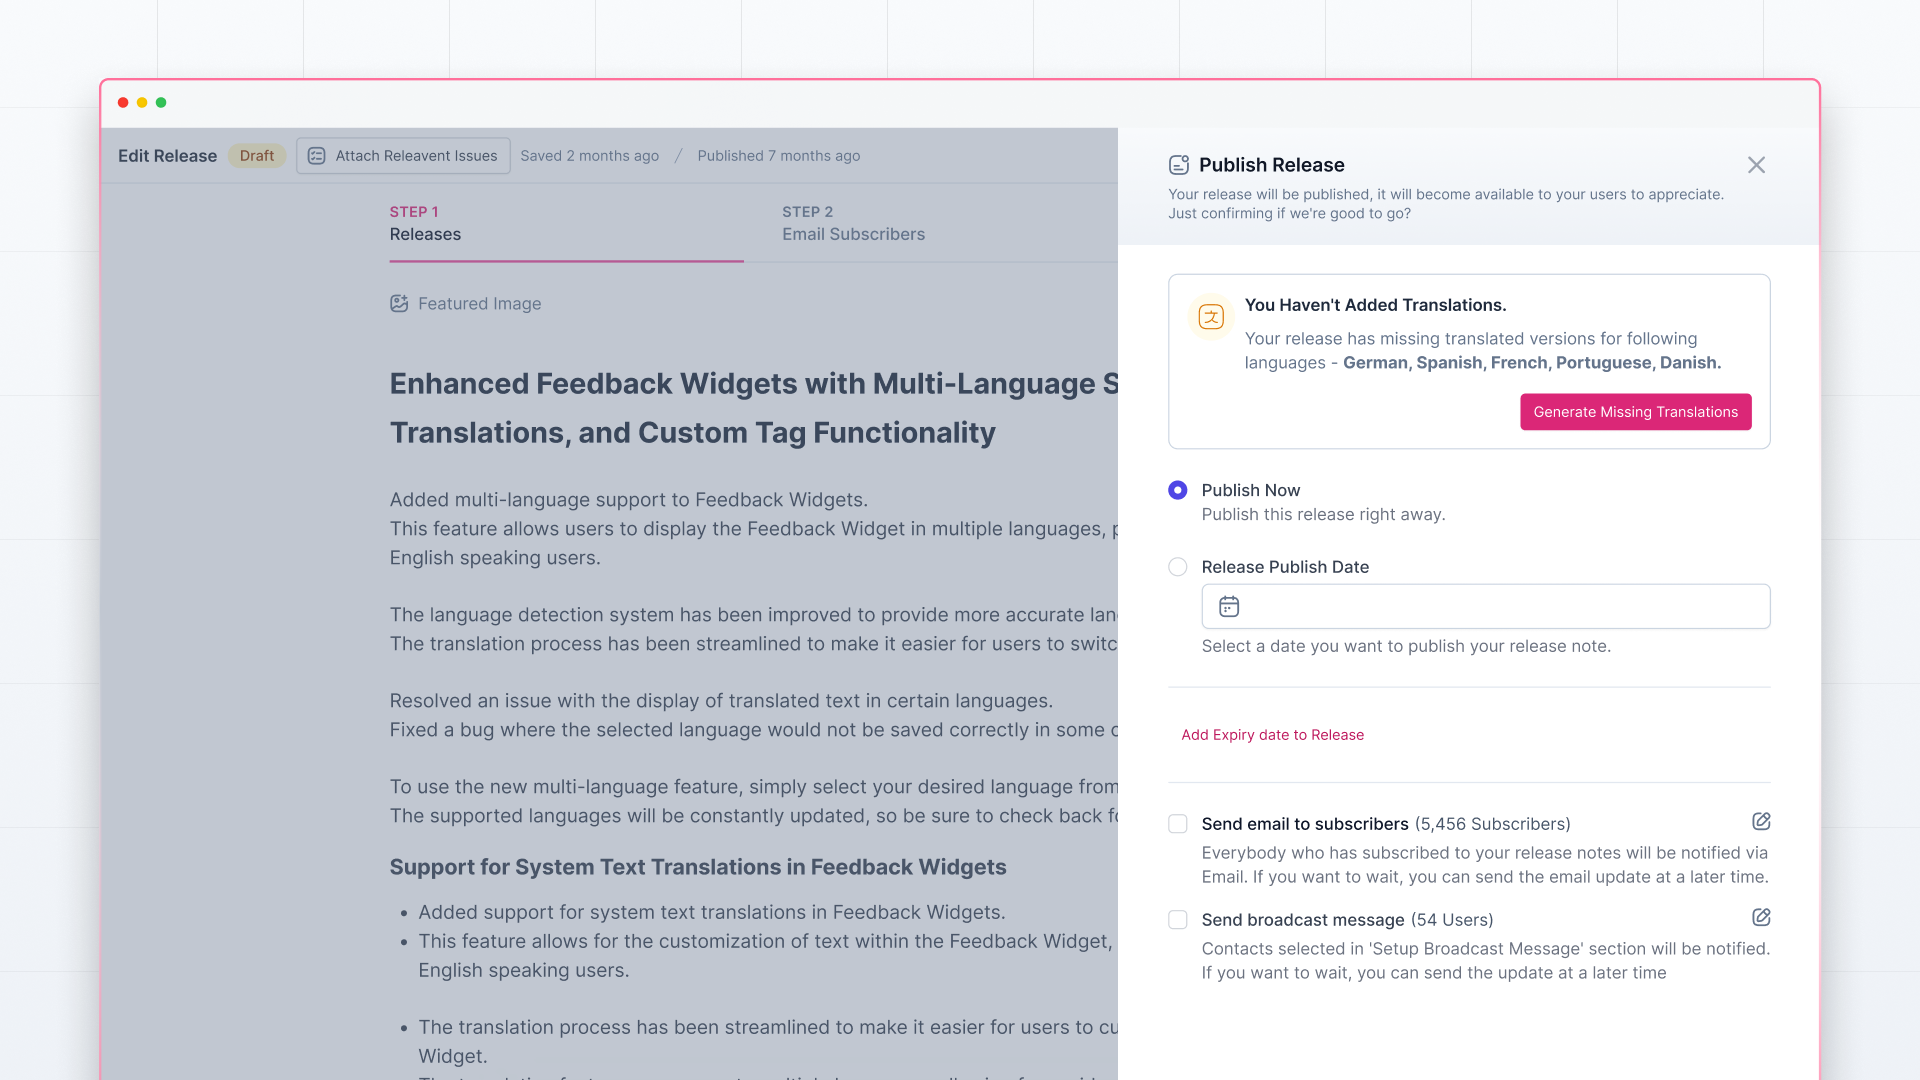
Alternatively, if you'd like to go back and regenerate the translation, you can click 'Generate Auto-translation' to create another auto-translation of the release in your selected language. Now you can publish this generated release for your users.
When your user changes the language, it will show this translated release on your changelog. If you’ve enabled multiple languages, generate a translated version for every language you want to support.
Enabling Multi-Language for Announcement Widget
You can also have multi-language support in your announcement widget. Every widget can have its own default language. To enable that:
- Go to the Announcement Widgets page. Open any widget you’ve already created or create a new one.
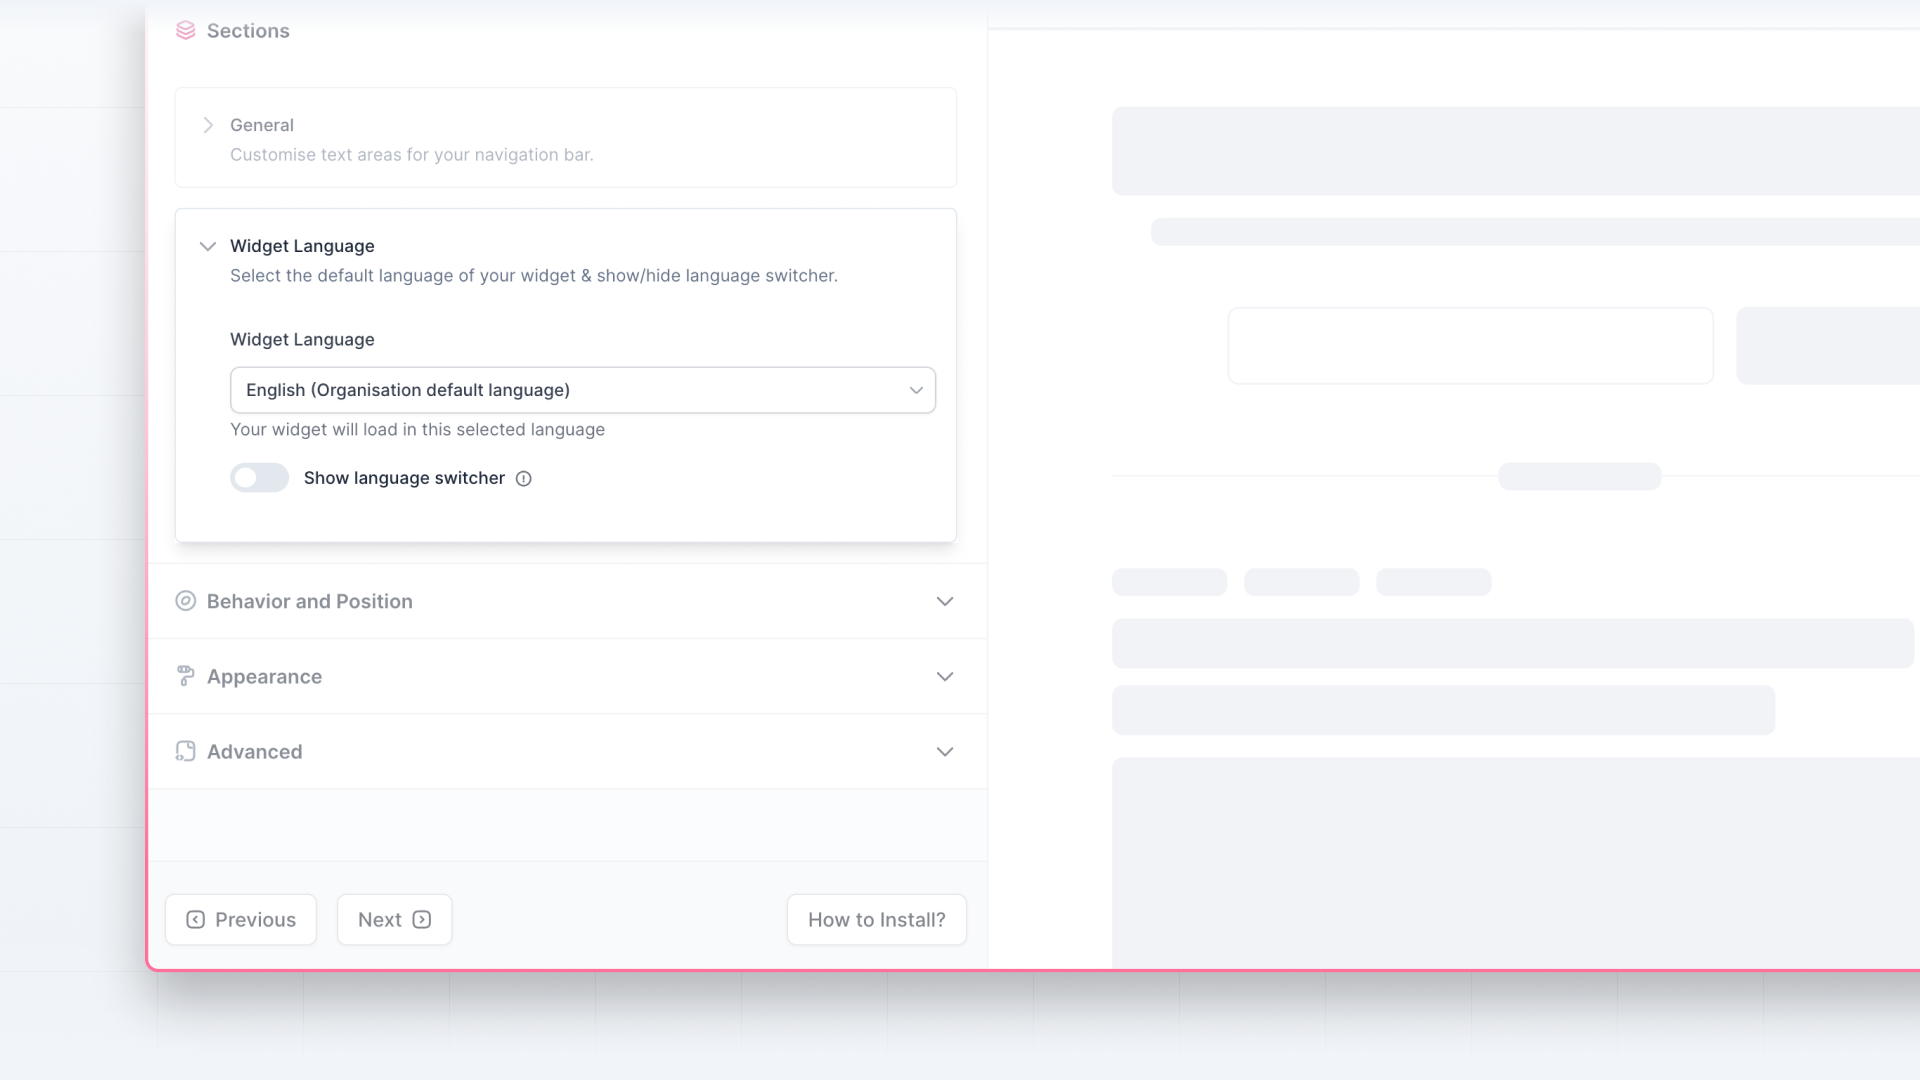
- In the widget builder, you’ll see 'Sections'. Click on it, and inside that, you’ll see 'Widget Language'.
- From there, you can choose the default language for your widget from the language options available.
- You can also choose whether you want to show the language switcher in your widget to let users change the language for the releases.