Table of Contents
Before publishing your release, there’re a few things in the release editor settings that you should look at.
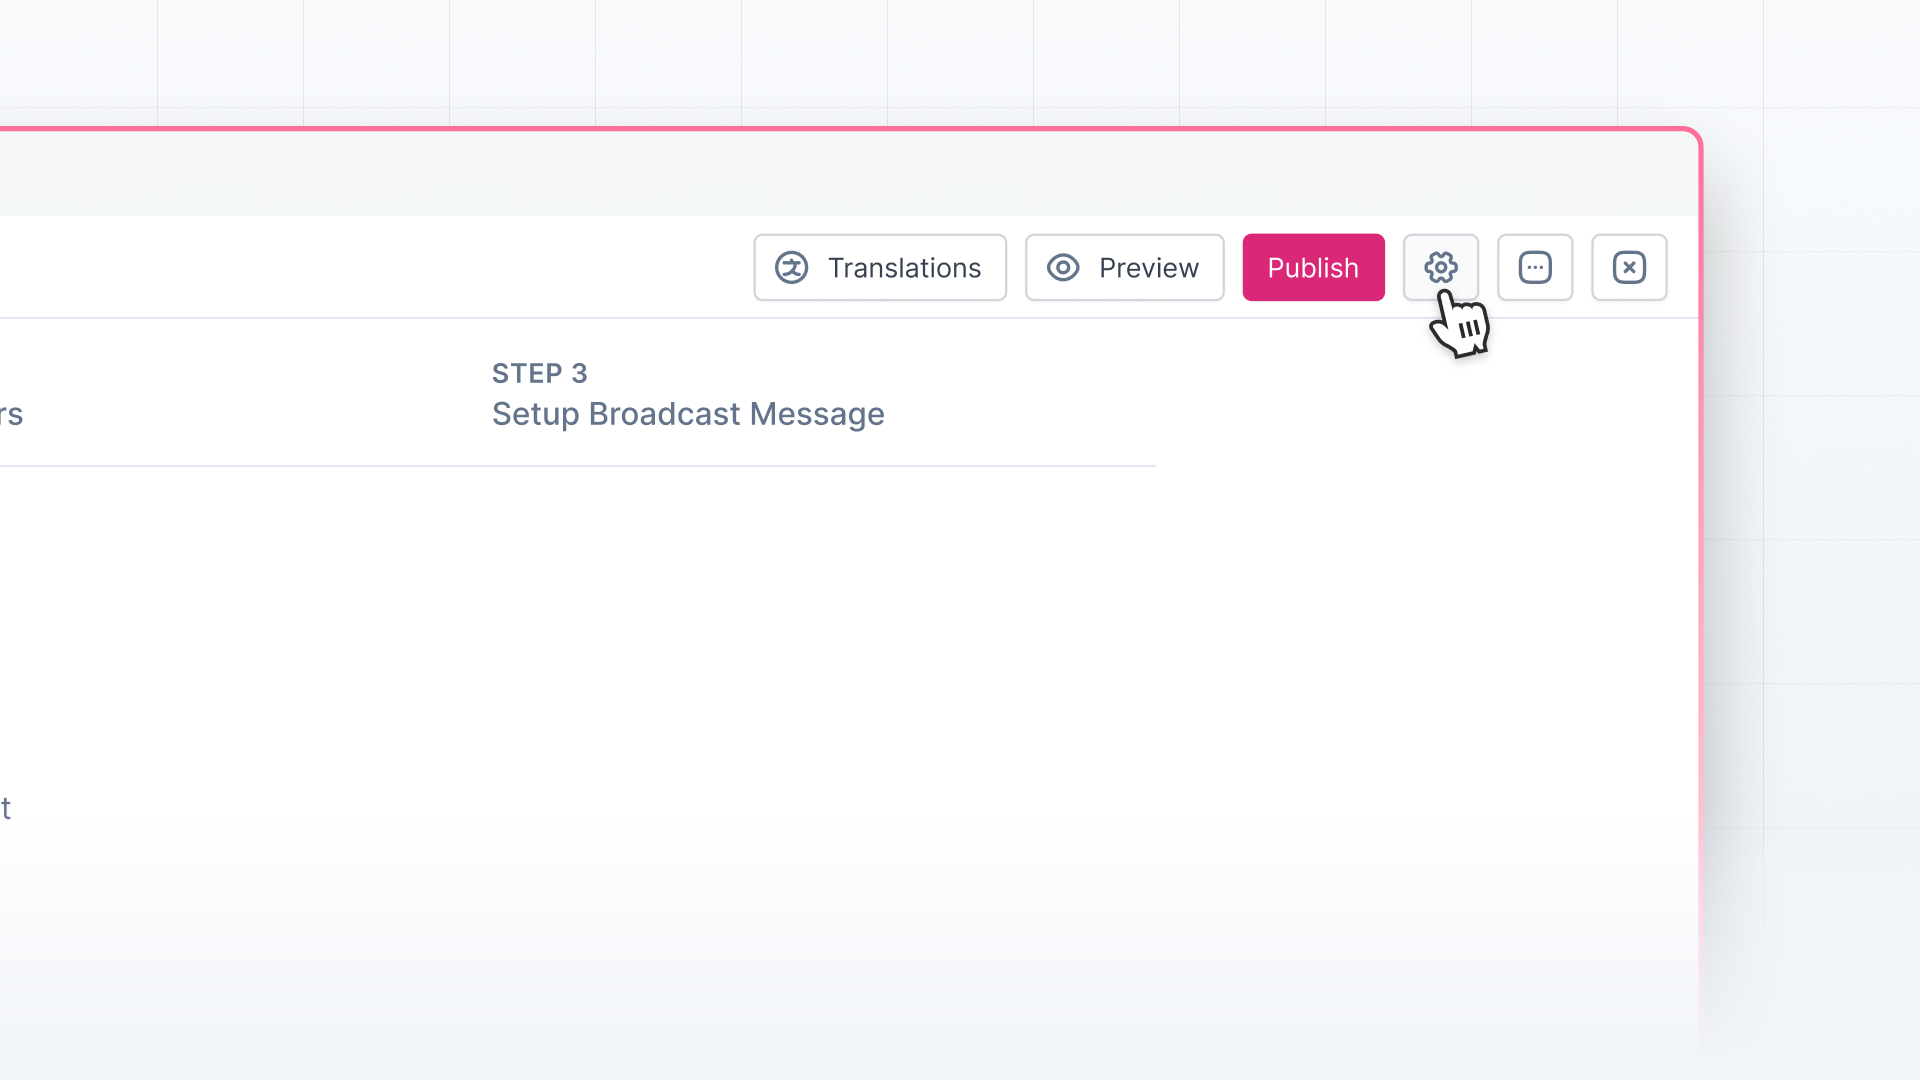
In the release editor, you’ll see ⚙️ at the top right side. As you click on it, a slide-over will open where you can fill below-mentioned details about your release:
- Version
If you wish to display a version in your release, you can add it here. - Permalink / Slug
In this, you can add a permanent URL for your individual release. - CTA Button Link and Text
Next comes the CTA button link and text, where you can add the action you want readers to take after reading the release. Make the CTA Button Text as quirky as possible😉 - Contributors
Here, you can add your team members who have contributed to making the release live to let your users know the real makers. - Segments
In Olvy, you can create different user segments and decide whether you want to show the release to a particular user segment. - Projects and Categories
You can organize your changelog by creating projects (such as Feedback, Integration, APIs, etc.) and categories (such as Improvements, Enhancements, Announcements, etc.).
Here, you can attach releases to relevant projects and categories. Projects and categories make it easy for you and your users to discover all the relevant releases under a project or category. - Feedback and Reactions
Next comes a checkbox that lets you choose to either enable or disable users to give feedback or react to the release. - Social Media OG Image
At last, you can customize the open graph image for your social media platforms. Click on 'Upload Image' to add an image and see the preview below it.