Olvy Integrates with a lot of products , We have a lot of beautiful and functional first party integrations that add value to your feedback loop but once in a while you will stumble across a product that Olvy doesn’t offer first party integrations for, The best thing to do in a situation like that is to reach out to us and we will put the integration on our roadmap.
Meanwhile out team is working on creating that integration, you can get set up with our Zapier integration and build your own flows.
Setting Up the Integration
- Head to zapier.com and click on
My AppsAfter you setup an account - Now click on add connection and select Olvy

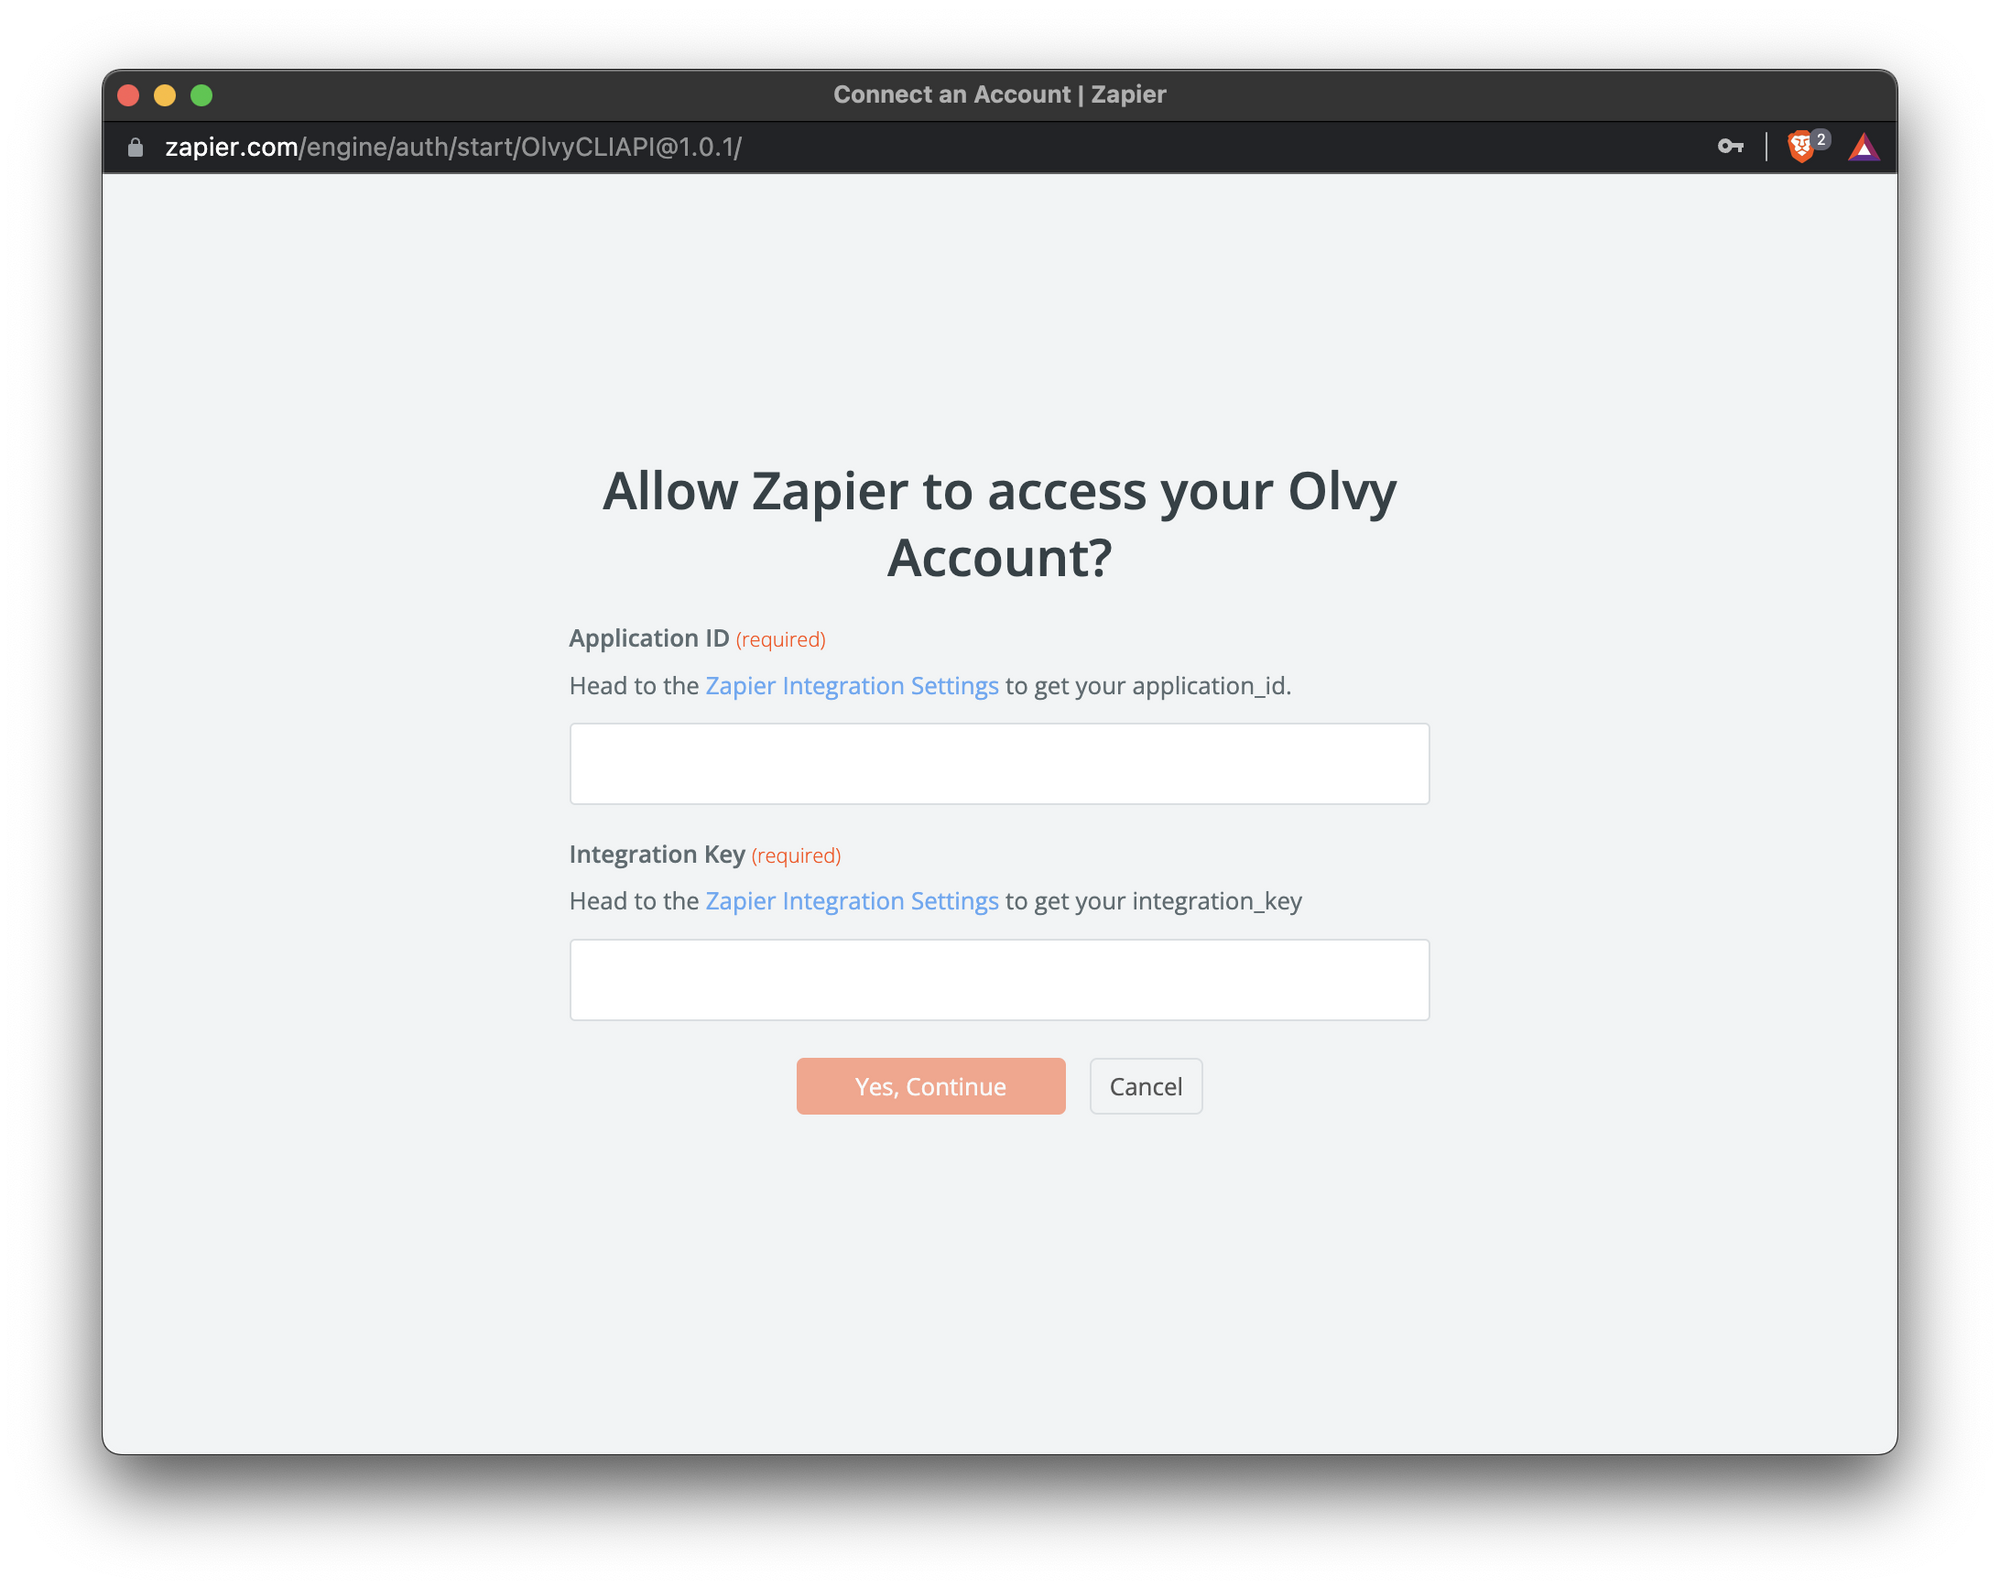
- Now either click on the link in the window that opens up or head to your Olvy Dashboard and then into Zapier settings.

- Copy the application ID and the API Key and paste them in the Zapier window and click Yes, Continue. This would redirect you and your Olvy account would be connected to Zapier
Creating a new zap
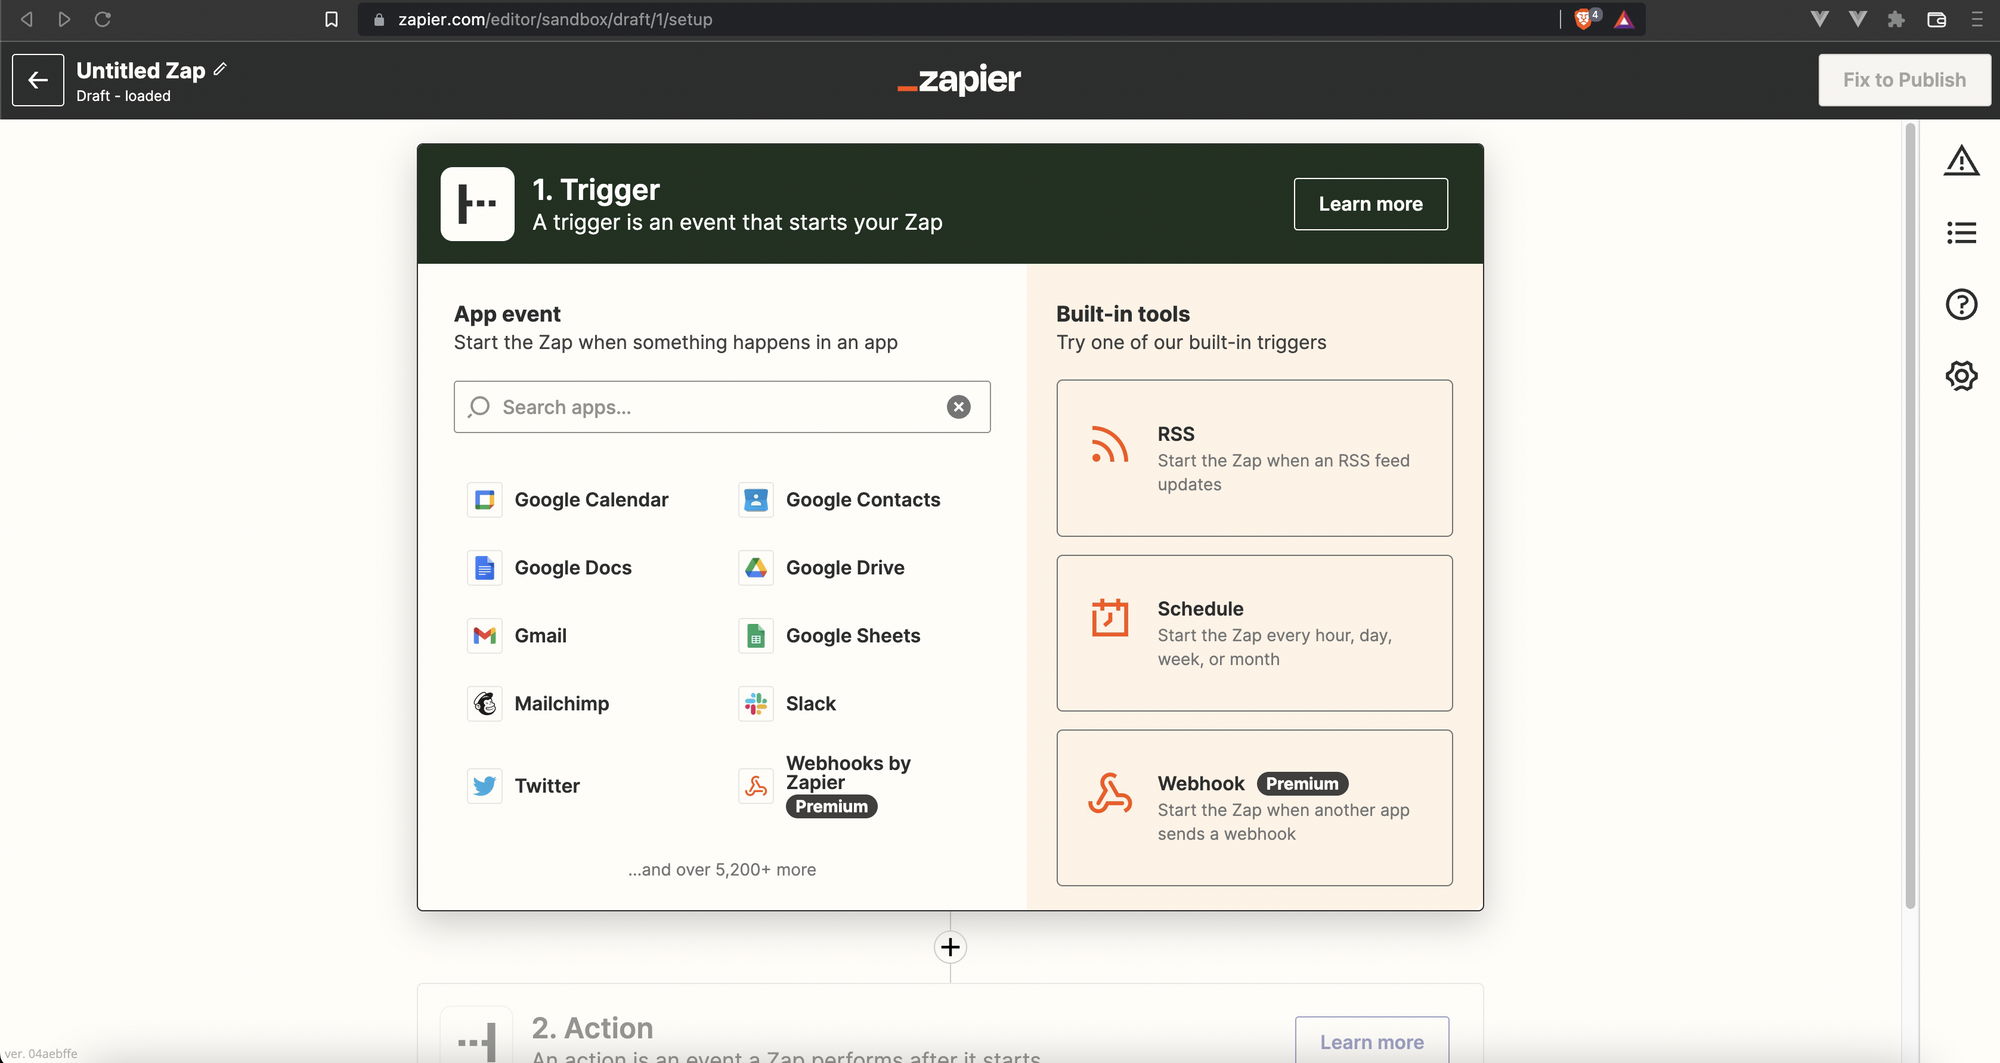
To create a new zap , Click on the create Zap Button and a screen similar to this will open up

Olvy supports both triggers and actions. Triggers let you send data from Olvy to any other app you’d like and Actions help you get data from any other app into Olvy
Setting up an Olvy Trigger
A trigger is an event that starts a Zap. Once you turn on a Zap, Zapier will monitor for that trigger event. Olvy sends triggers for things like new feedback creation, issue creation, user creation etc.
To setup a trigger, select Olvy in the triggers section, Now select your account and then select the actual action which should happen in Olvy for this zap to run. The action will run about a minute after the action has occurred.
Setting up an Olvy Action
Actions allow you to push or put new data into apps through Olvy.
To setup an Action once you have setup the trigger part, just select Olvy in the action selection, select and map the fields for the action to run and then your are good to go.
